From CircuitPython to QMK: Giving My Macropad a Upgrade
Continuing from my last build, the firmware running on the macropad was based on CircuitPython.
It was doing the job just fine, but I wanted to add a few more features. As I started pushing it further, I also noticed that CircuitPython was slowing the macropad down a bit. Every now and then, I would also run into the dreaded USB busy error.
So I decided it was time to try something different.
Moving to QMK
I decided to compile QMK firmware for the macropad. QMK gives me a lot more flexibility when it comes to building a proper keyboard firmware, so it seemed like a good fit.
And, naturally, I turned to AI to help with the transition.
It did it surprisingly quickly.
After getting the first version running, I was honestly quite impressed with the difference.
QMK was fast.
Compared to CircuitPython, the macropad felt significantly more responsive. Layer changes were almost instant, and I wasn’t getting the little hiccups I was seeing before when pressing buttons.
It just felt like a proper keyboard now.
VIA makes configuration much easier
Another big improvement was being able to use VIA to configure the macropad.
I could change the key assignments and layers at runtime without having to rebuild or reload the firmware.
With the previous CircuitPython implementation, changing the configuration meant modifying the settings and resetting the board so it could read the new configuration.
With QMK + VIA, I could simply make the change and carry on.
That alone made the whole experience much nicer.
Adding graphics to the display
But, of course, once one thing works, I have to make it more complicated.
The macropad has a display, and I wanted to make better use of it.
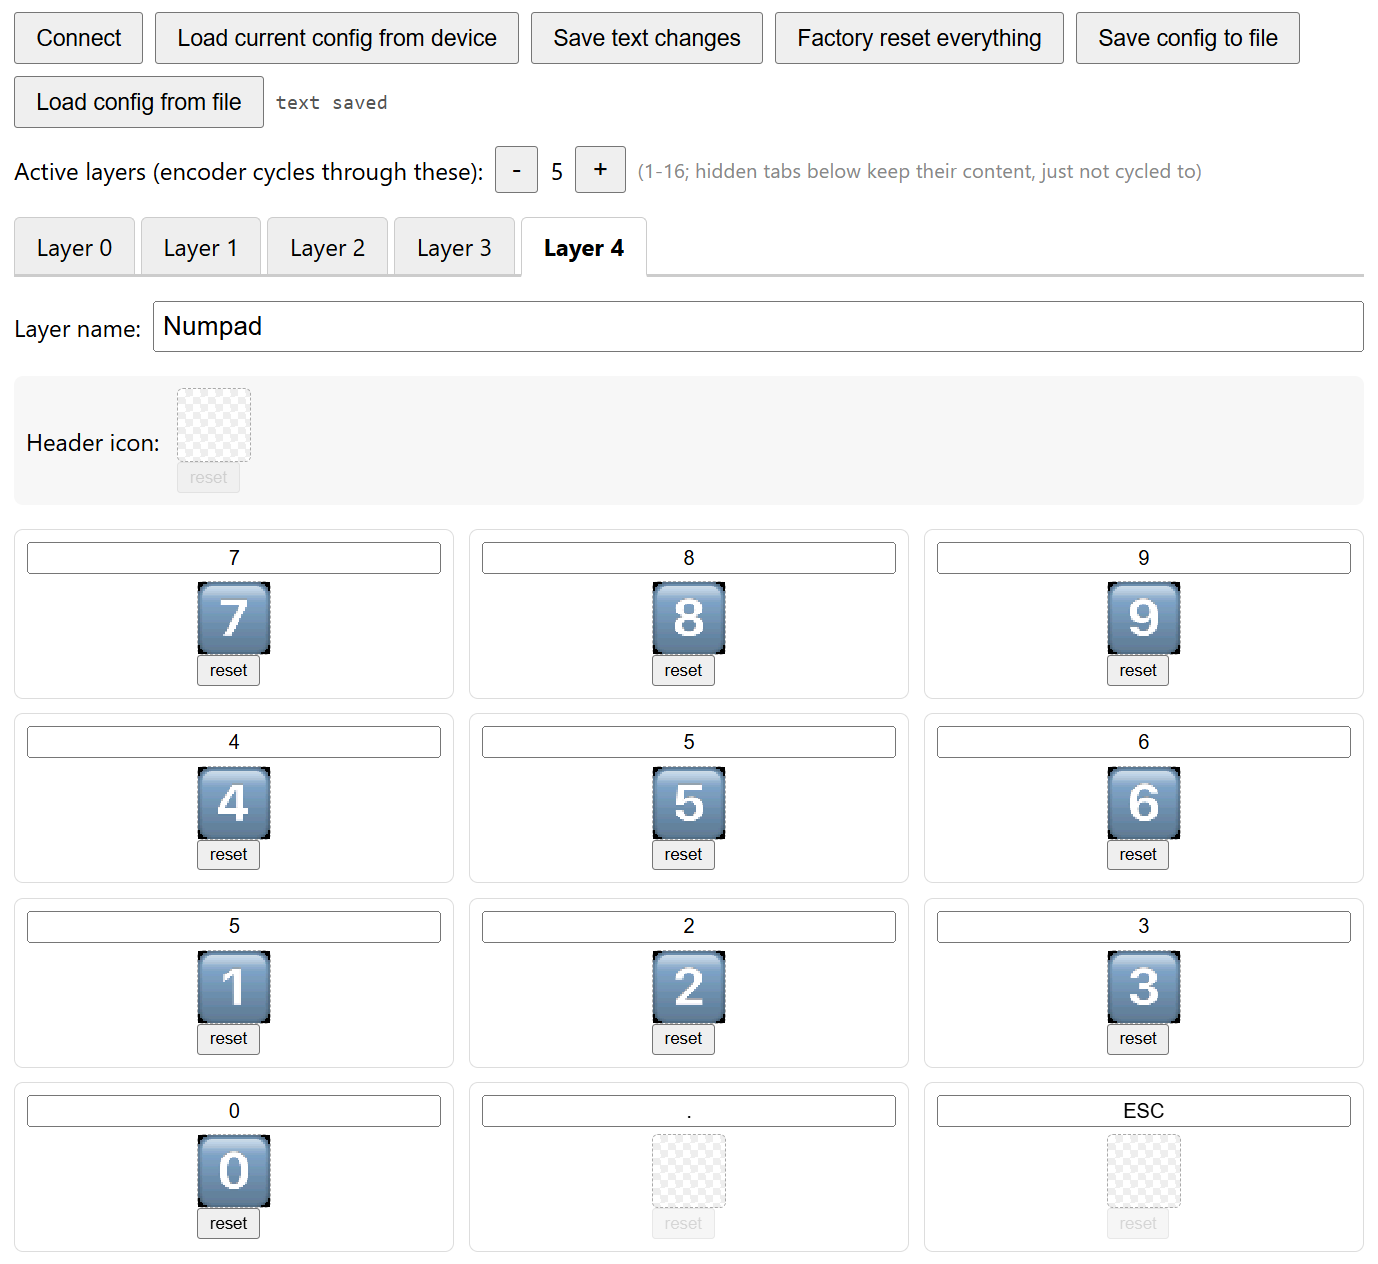
Instead of displaying just text for the shortcuts, I wanted to show graphics/icons representing the functions.
So I went back to AI and had it help me build a custom configuration system.
The result is a small CDC-based protocol together with a simple HTML interface that runs locally and lets me configure the macropad.
Now I can:
- Configure the different layers
- Assign icons to keys
- Change the shortcuts
- Load existing configurations
- Export configurations
- Apply changes instantly
The best part is that the changes are instant. There is no need to reset the macropad every time I change something.
It’s a pretty big improvement over where the project started.
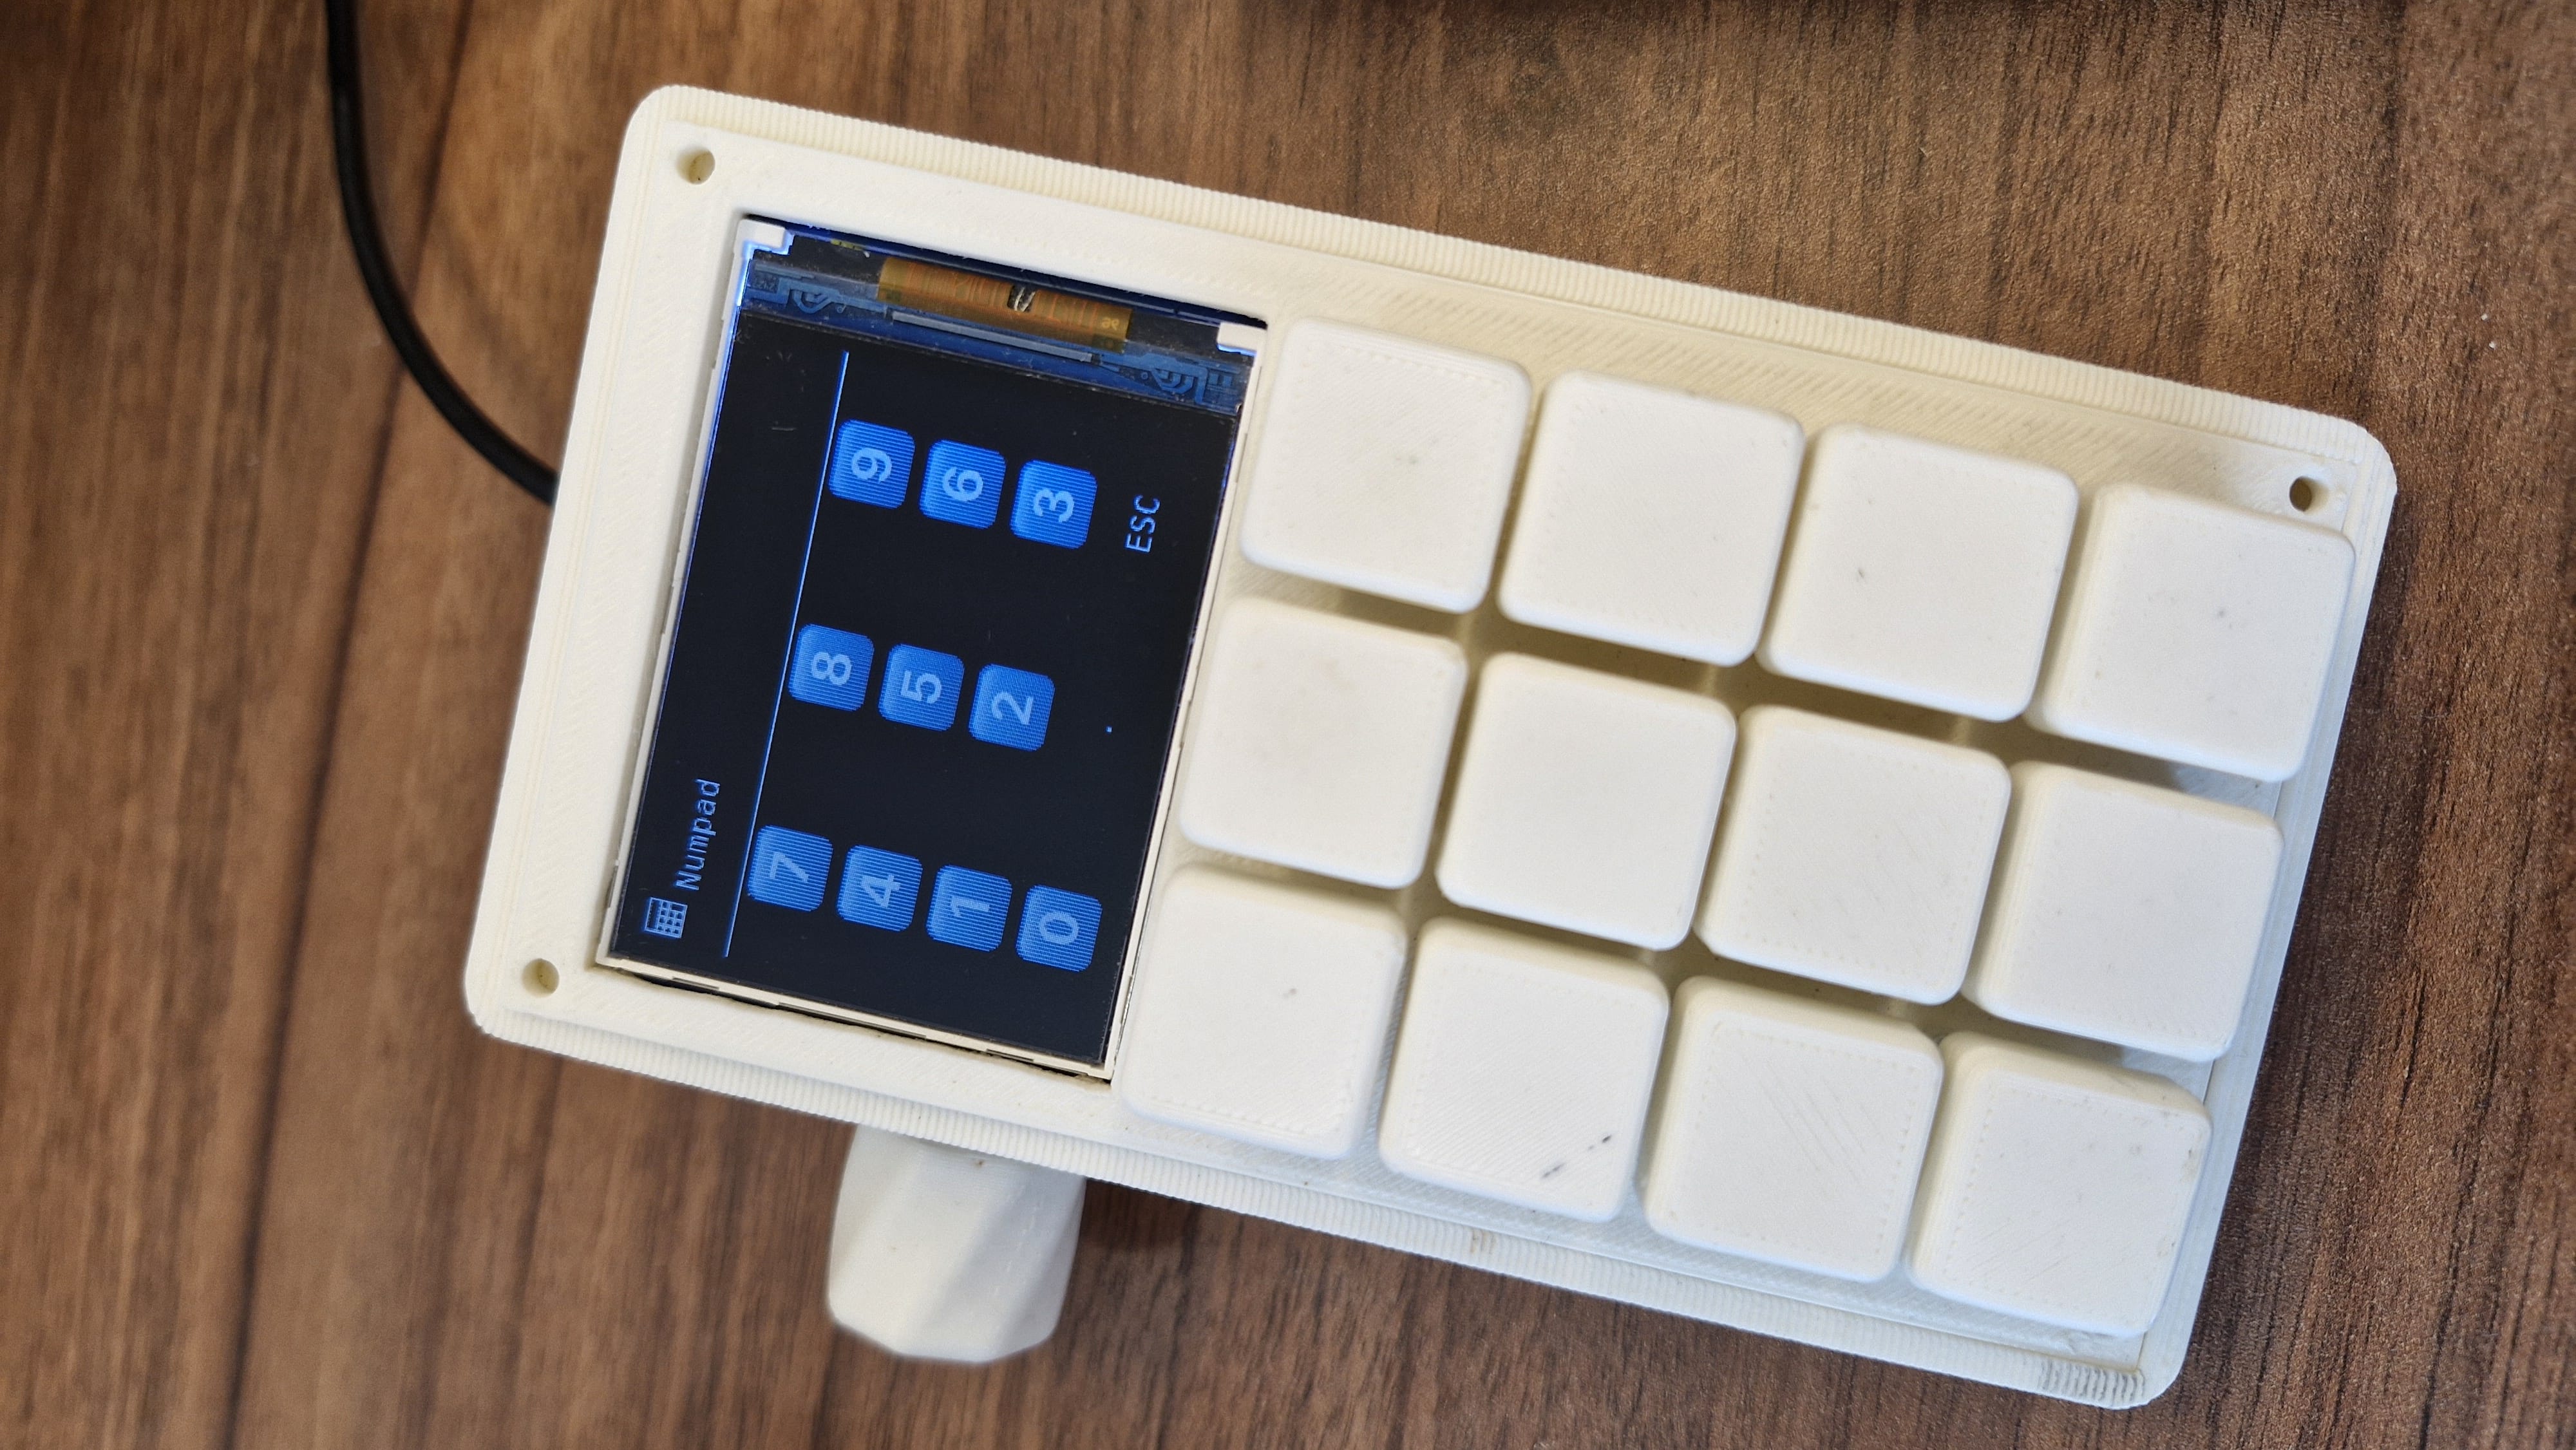
What’s next?
At this point, the electronics and firmware are getting to a place I’m pretty happy with.
So naturally, the next thing that needs some attention is the part I’ve been neglecting:
the mechanical design.
I think the next iteration will involve giving the enclosure some TLC and making the whole thing feel a little more like a finished product rather than a development board with keys attached to it.
Let’s see where that takes it.