Macro-pad on RP2040
🚀 A keyboard with 12 keys, screen and a knob to change the mode.
Introduction
As an EE, majority of my time is spent using Altium Designer. Altium is a very click heavy tool, meaning for most of the tasks it needs at least two to three clicks, sure there are keyboard shortcuts, but at some point they become too many to remember and/or you end up contorting you hand. This is when I realized having a macro pad would improve the workflow a lot. Although, I so wish they deploy a feature like the command pallet in VS code or Operator search in Blender.
Project Motivation
My requirements were, a screen, a knob to change keys layers and of course the keys. As I didn’t want this just to be a tool to be use with Altium Designer, it should be expandable. So I started to look around for one and after much research of finding DIY kits, ready to use product, the question was build or buy. There one notable one from Adafruit.
Apart from the price and and lack of customization in terms of hardware, I decided to build one. And anyway it had been a long time since I made any maker type project.
I found this project which was very close to my planned build here on element14 website
I was intrigued of using python on micro-controllers, I’ve always used C for programming micro-controllers, and in my mind I had the opinion that using micro-python for controllers is not very efficient and should not be used in production, so I took this chance to use it in a sort of the product.
Planning and Design
Keypad build
For the python version between micro python and circuit python, I choose to go with circuit python, I’m not entirely clear on the difference between circuit-python and micro-python.
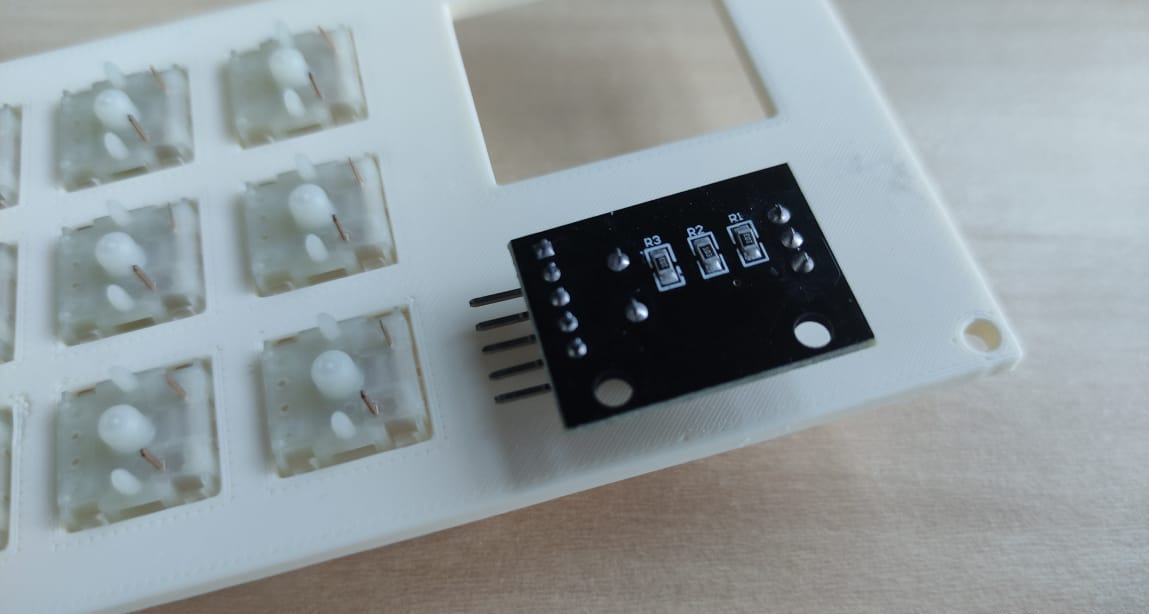
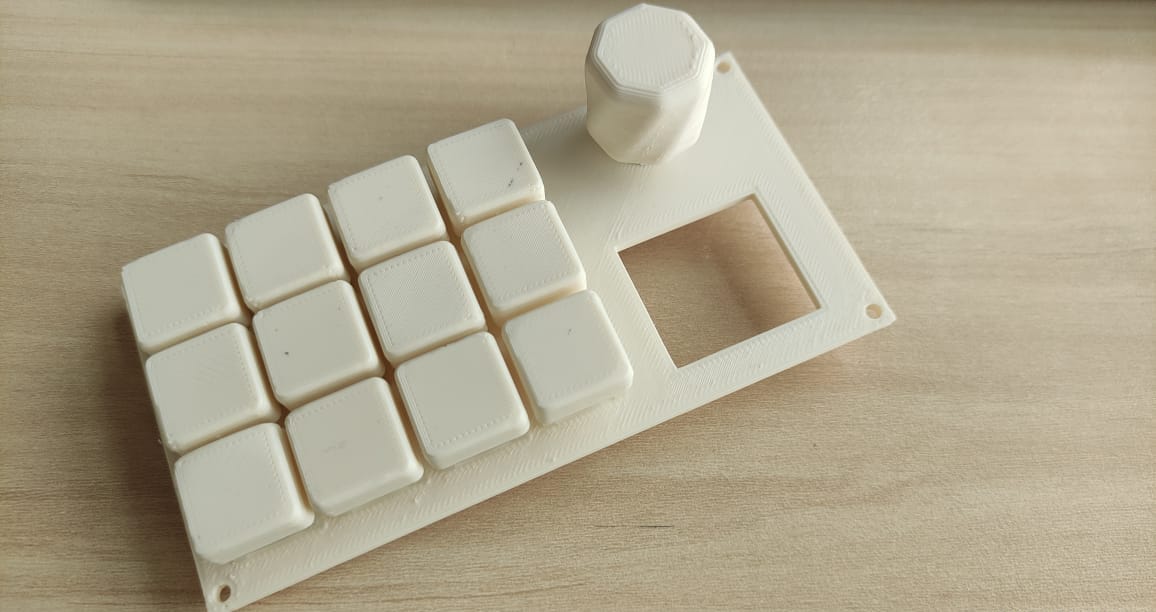
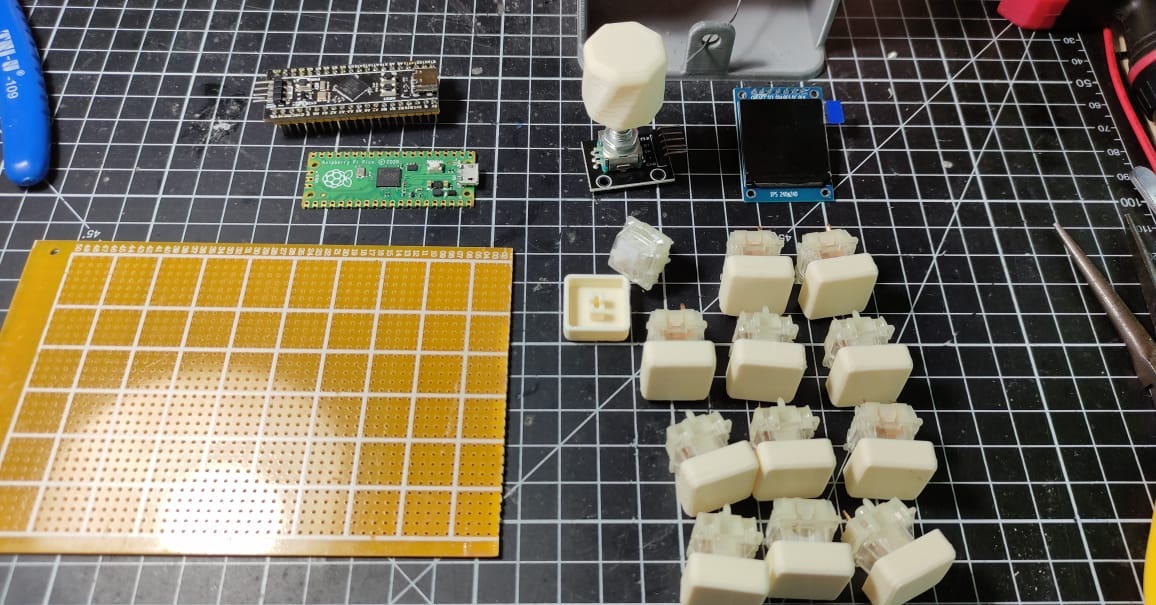
I started as usual with some sketches and and listed the requirements, it needed to have a screen, a rotary encoder to switch between layers and 12 keys. So I ordered those from Chinese web stores and in the meanwhile I started the 3D design in FreeCad.
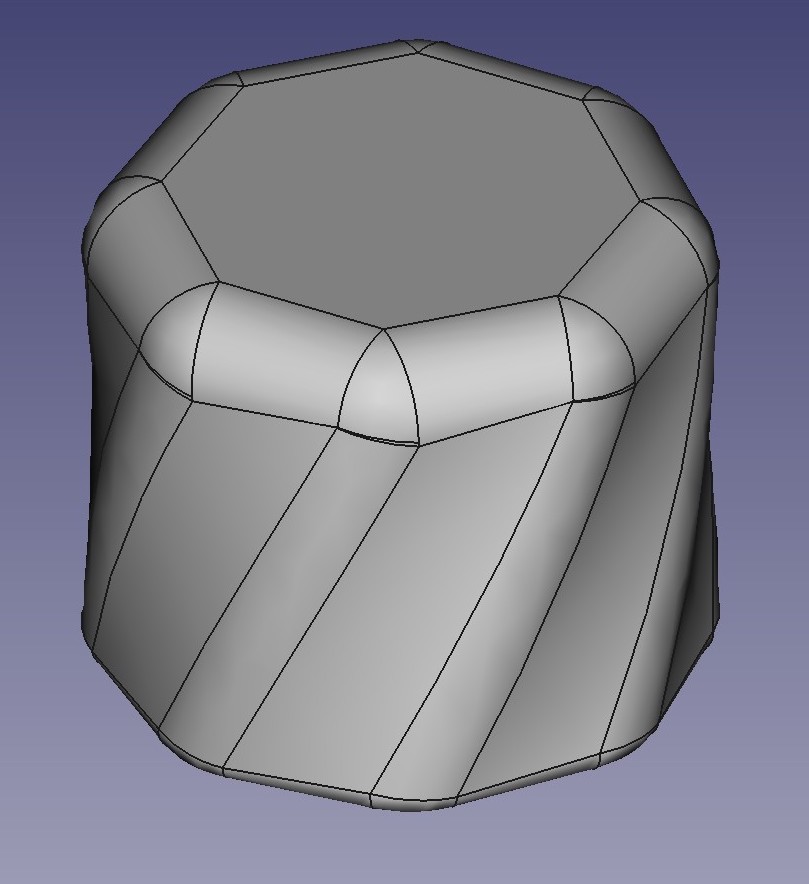
Design in FreeCAD
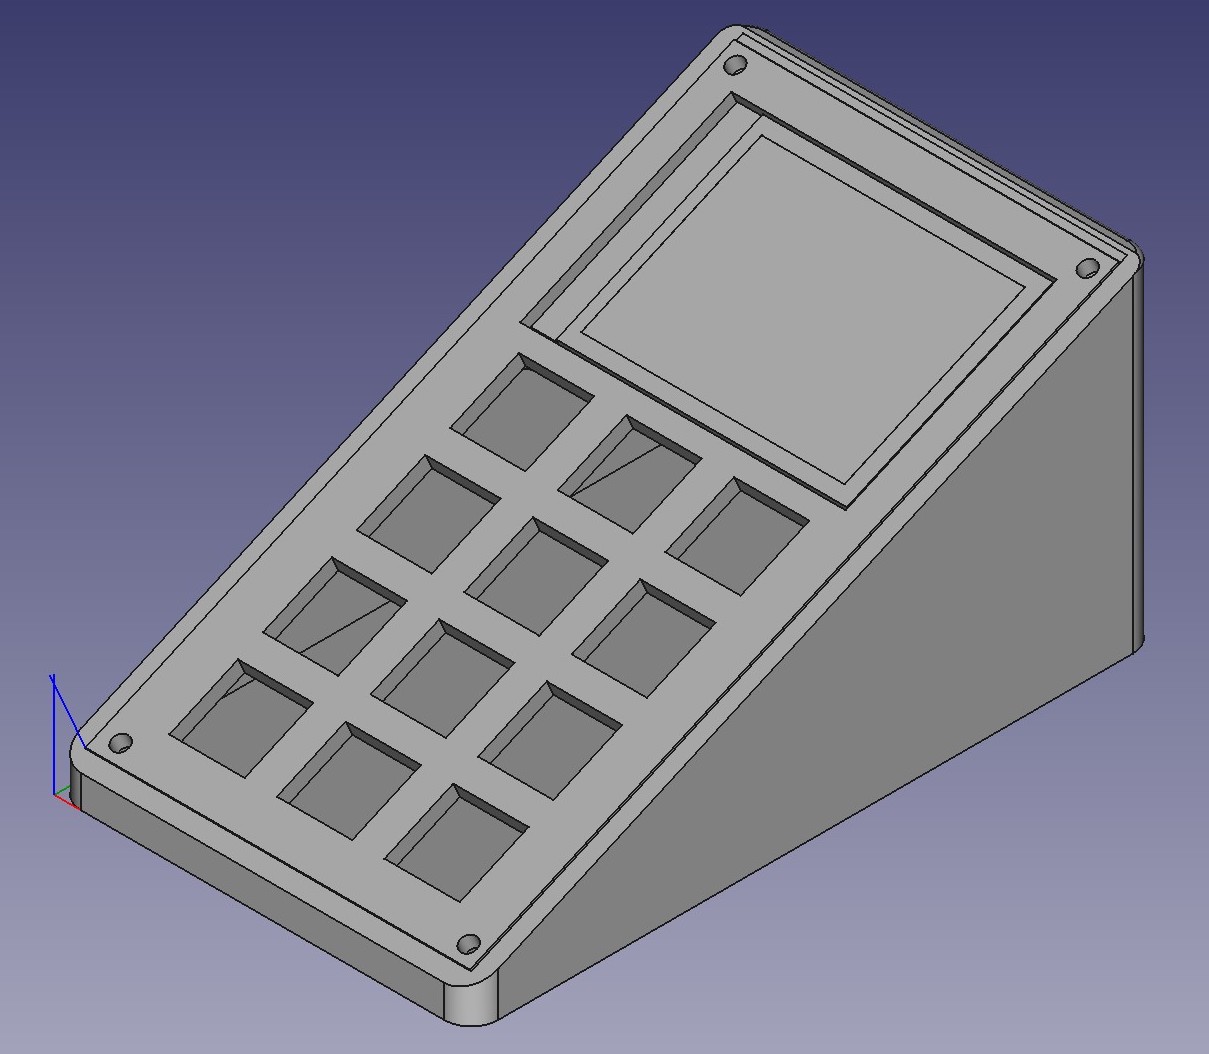
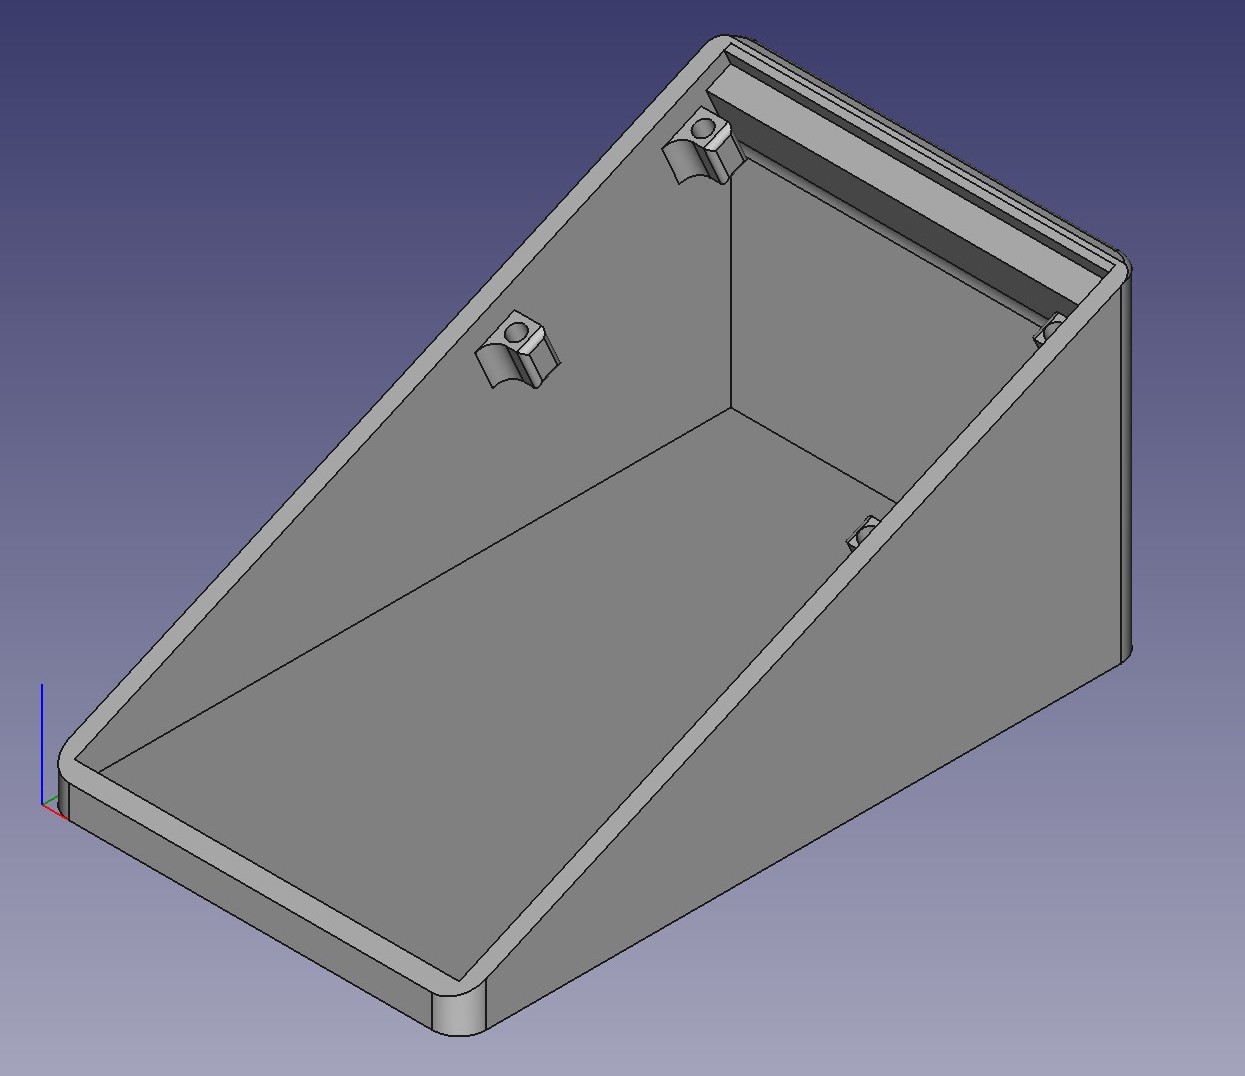
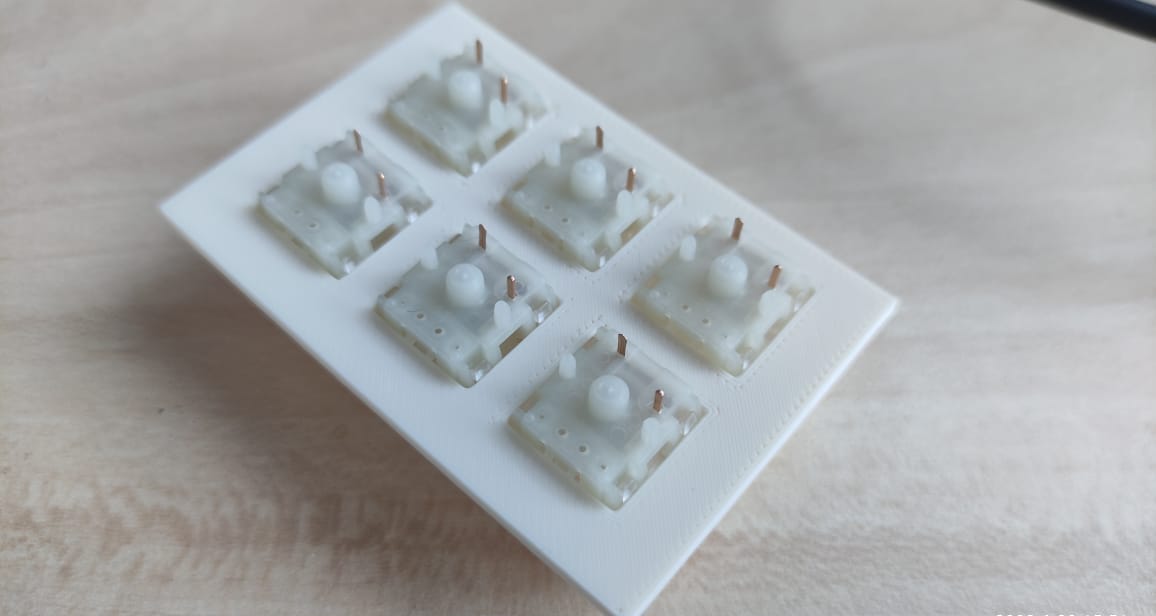
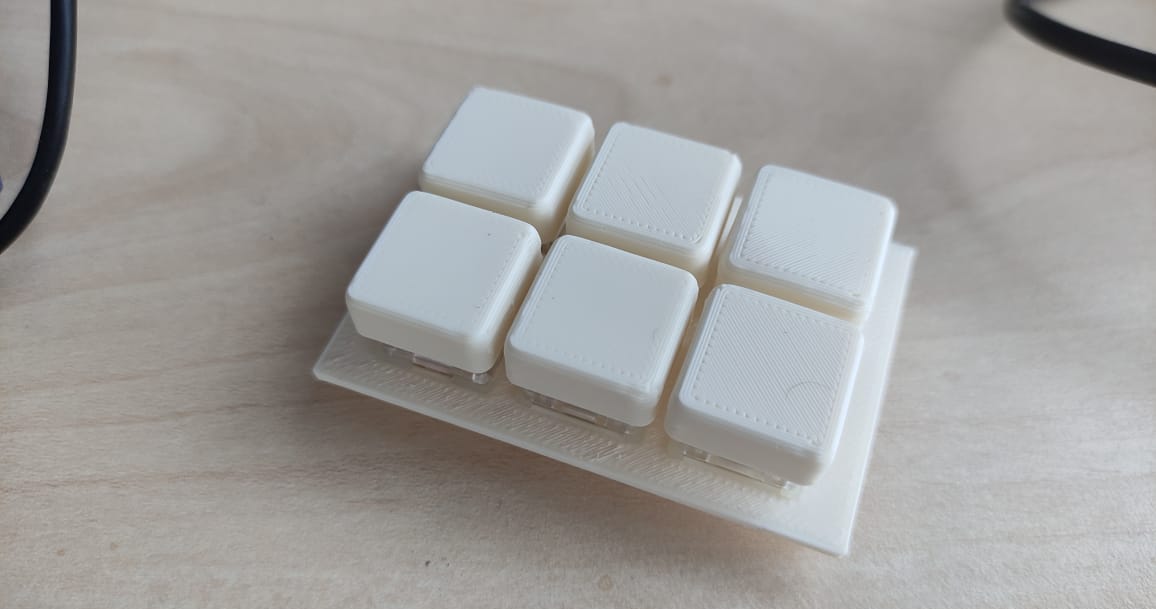
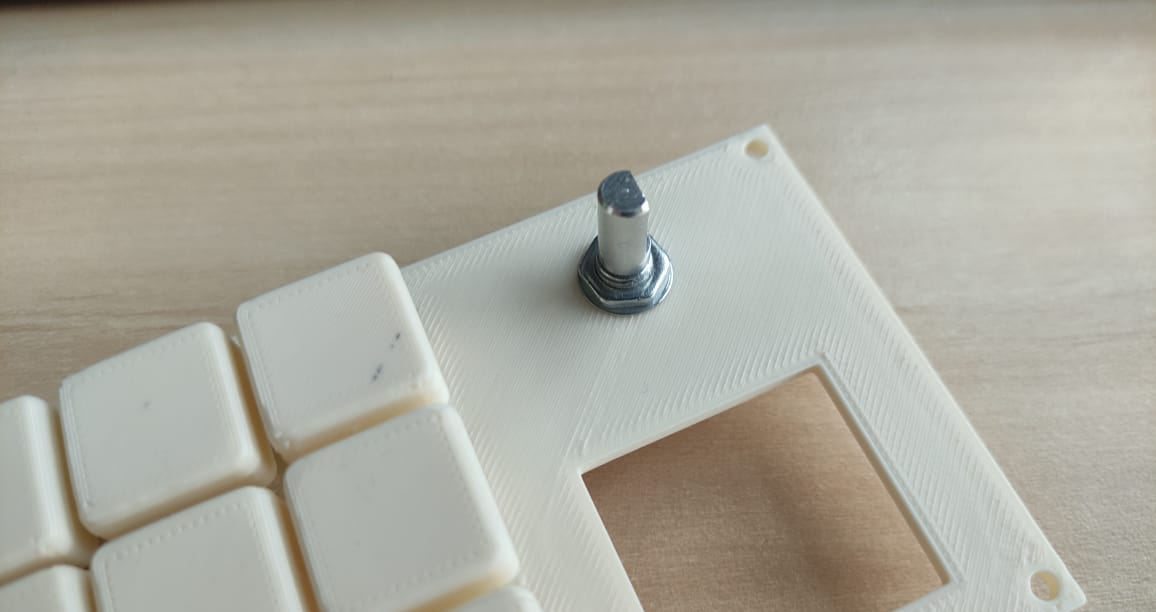
Build pics
After getting the parts, I made some test prints to make sure everything fits and also the account for the tolerance of the printer.

Final version video here
I went through few iterations and I was stuck as some point in the design that I just could not figure it out and printed it anyway, with mechanical stuff I wing it sometimes and since I was the only one using it, I moved on.
The first screen I ordered, I thought it would be enough but after seeing in real life, it was too small, So I ordered a bigger one. I tried to bring the smaller screen up anyway but, I just got the back-light working, I’m sure I was using the wrong library or something.
Mean while the bigger screen arrived, I started to test the keys fit on the some test prints to get the dimensions correct. The bigger screen worked out of the box.
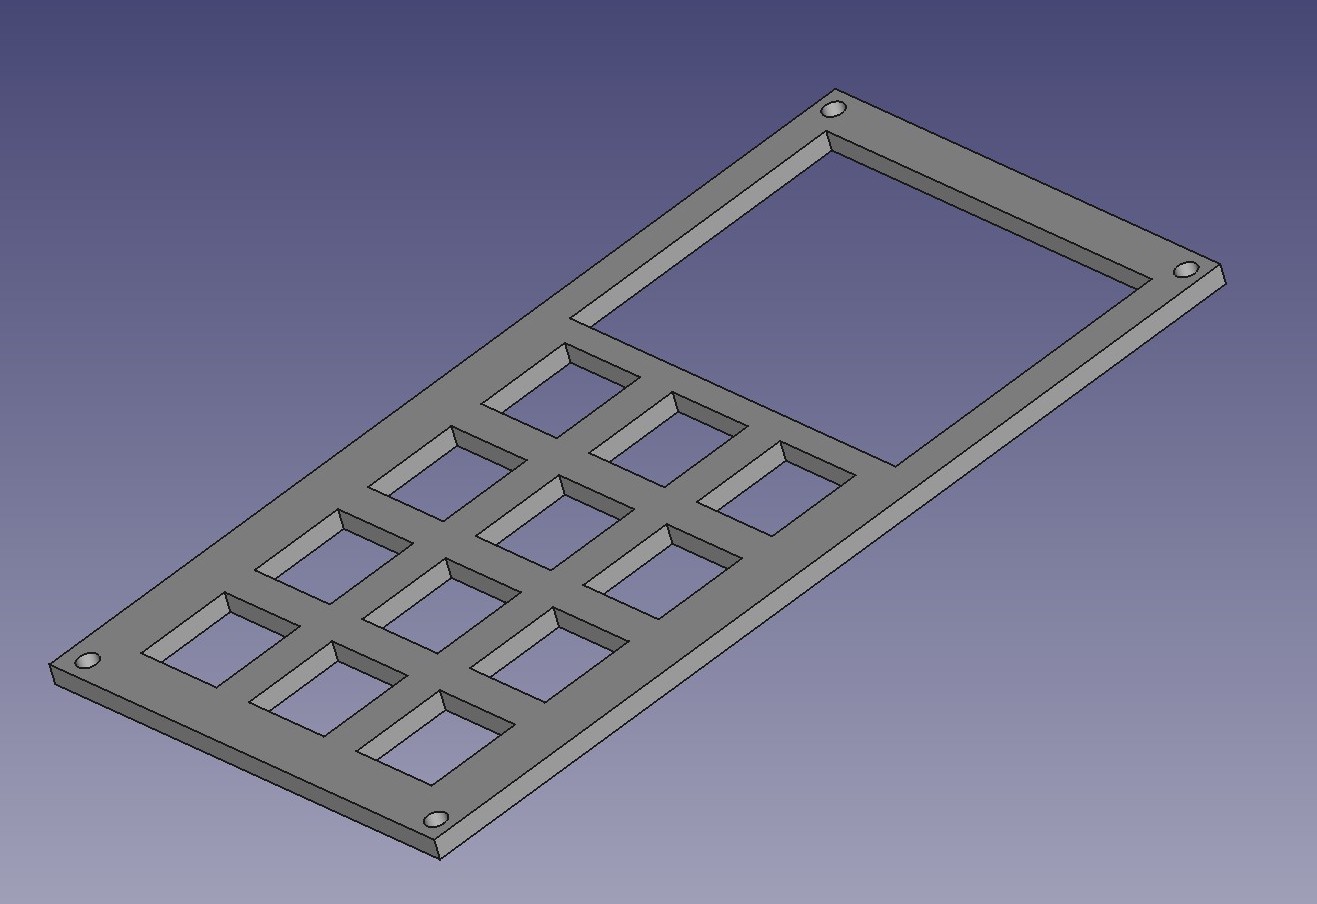
For the keyboard design, I found some really cool tools that made my job much easier for the keyboard plate, First I used this site Keyboard Layout Editor for defining the layout, than copied the data from the raw tab to this site Plate and Case Builder to generate the dxf file. I used this file in FreeCAD.
The macro-pad acts as HID keyboard and can send keys or key combinations, It can can do a lot when paired with Auto Hot Keys, for example, one is I’ve selected a word and it will search google for it. You can do other complex stuff with AHK scripting.
The code not efficient to say the least, it uses while(1) loop and scans key presses, I was not sure how to program interrupts in micro-python.
I could have made this much more appealing by using bitmaps icons but its seem some effort, I wanted to get started to use it so it improved my productivity, if any one want to take a stab at it here is the github here.
This guide helped in setting up Pico environment on windows Pi Cockpit
The macro-pad is connected via a USB hub of a external monitor, some times when the laptop wakes up from sleep, the macro pad code crashes and an error message is displayed, so I wired the reset of the controller to the button on the encoder, so I can simply press the knob to reset the Pico.
Conclusion
After making the project, did my opinion of not using python in production change, no. May be I’m getting old and resisting to change. Yes python gets you up and started very quickly, but it is slow. I think the best way is to use both, start with python and make quick PoC or for testing the hardware parts and for the final version, the python code will serve you as a pseudo code for coding in C.