Render PCB in 3D
I find it very fascinating visualizing my own PCB designs in 3D outside of the ECAD tools capabilities. It is a must to export your PCB design to MCAD tool for enclosure. I’ve used blender on and off over the years and tried some modelling, just playing with it. It is an intimidating UI with so many buttons, but it has gotten better in recent years. The UI is much clean and buttons behind the menus. It’s quite a powerful tool to say the least.
Here I’ll discuss how to get your Altium PCB into blender, KiCAD PCB into blender and lastly, how to make stylized visuals of the PCB in blender. It will require some blender basic skills to get so these same visuals as shown. Also, some concepts of lighting etc. I’m still learning more about blender, especially the geometry nodes.
Altium to Blender
Blender works with meshes and not solid bodies that are used by MCAD software. There are ways to import Step files into blender, but these sometimes the PCB lose their material properties in conversions and imports the board as gray blocks. Adding materials to board is very tedious and not recommended. The best way I found was from Lukas Henekle who found from some other guy as the easiest way to get board in blender with all the colors intact. And the bigger issue with using step export from Altium is the traces are not exported. They are trying to push for their MCAD Co-designer ecosystem. Stock step export is good enough for making enclosure not so much for rendering without the traces.
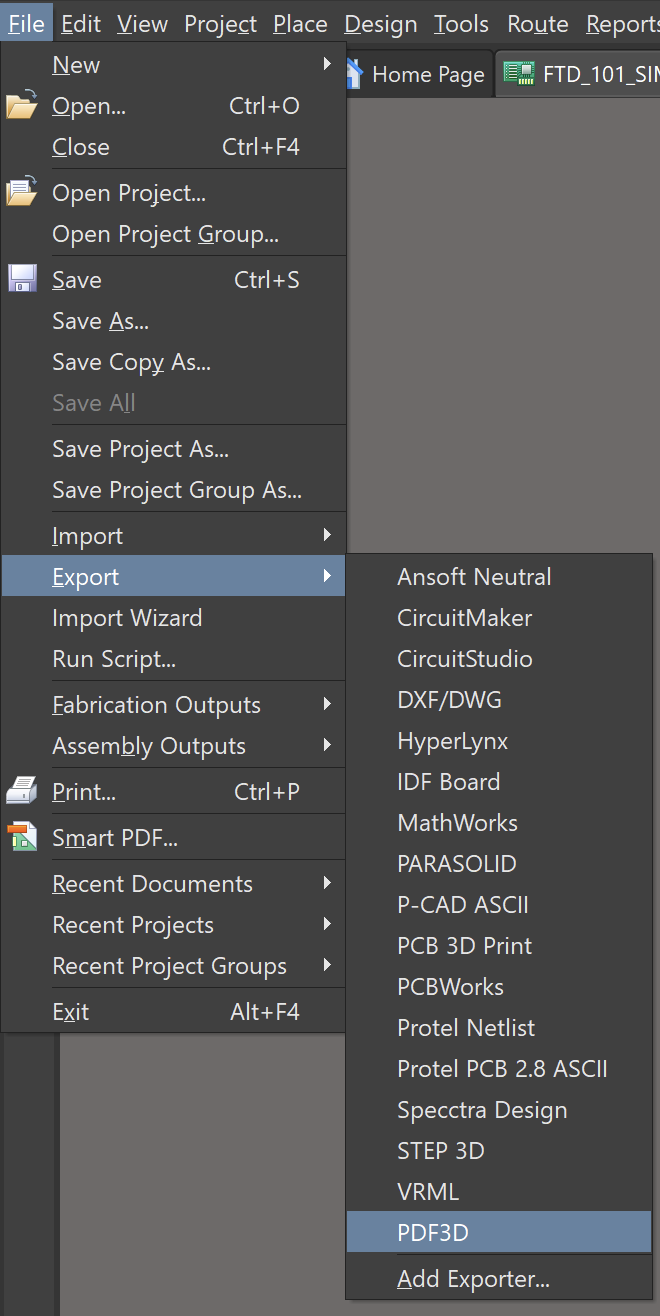
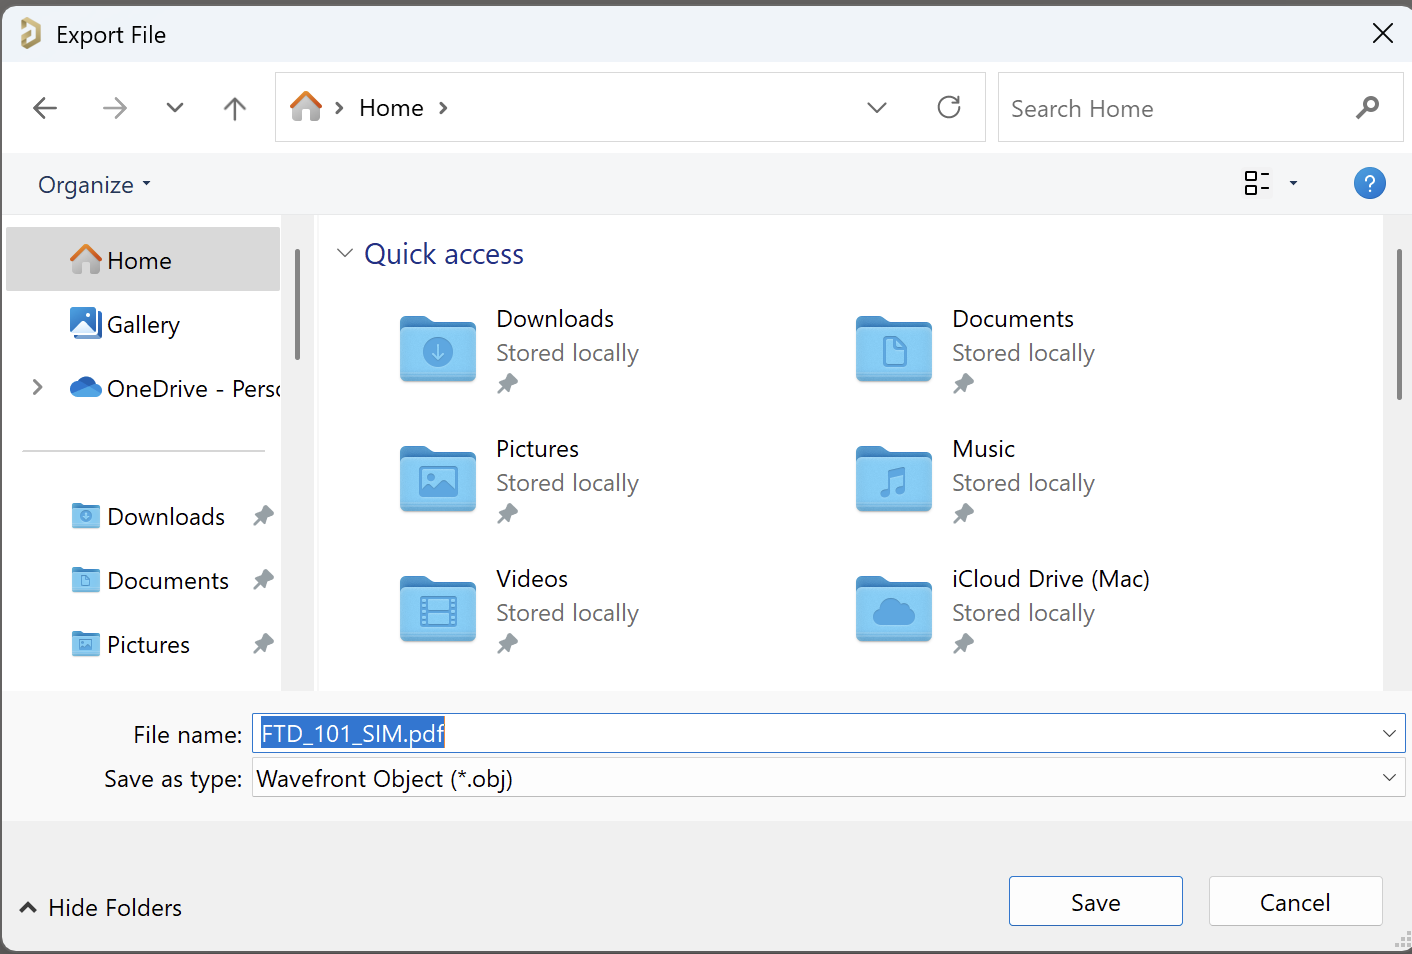
The trick to export board with the traces and vias is to export the board as PDF3D and in the save as dialog box, change the file type to .OBJ. This will export two files, one obj file and a .mlt file which contains all the materials. This file can now be imported into blender easily using its stock importers. This function is still present in v24, but who knows how long it will stay. The models imported have very sharp edges, if you want to make it realistic, you can add the bevel modifier. You can refer to the PCB arts blender stylized setup for your reference.
KiCAD to Blender
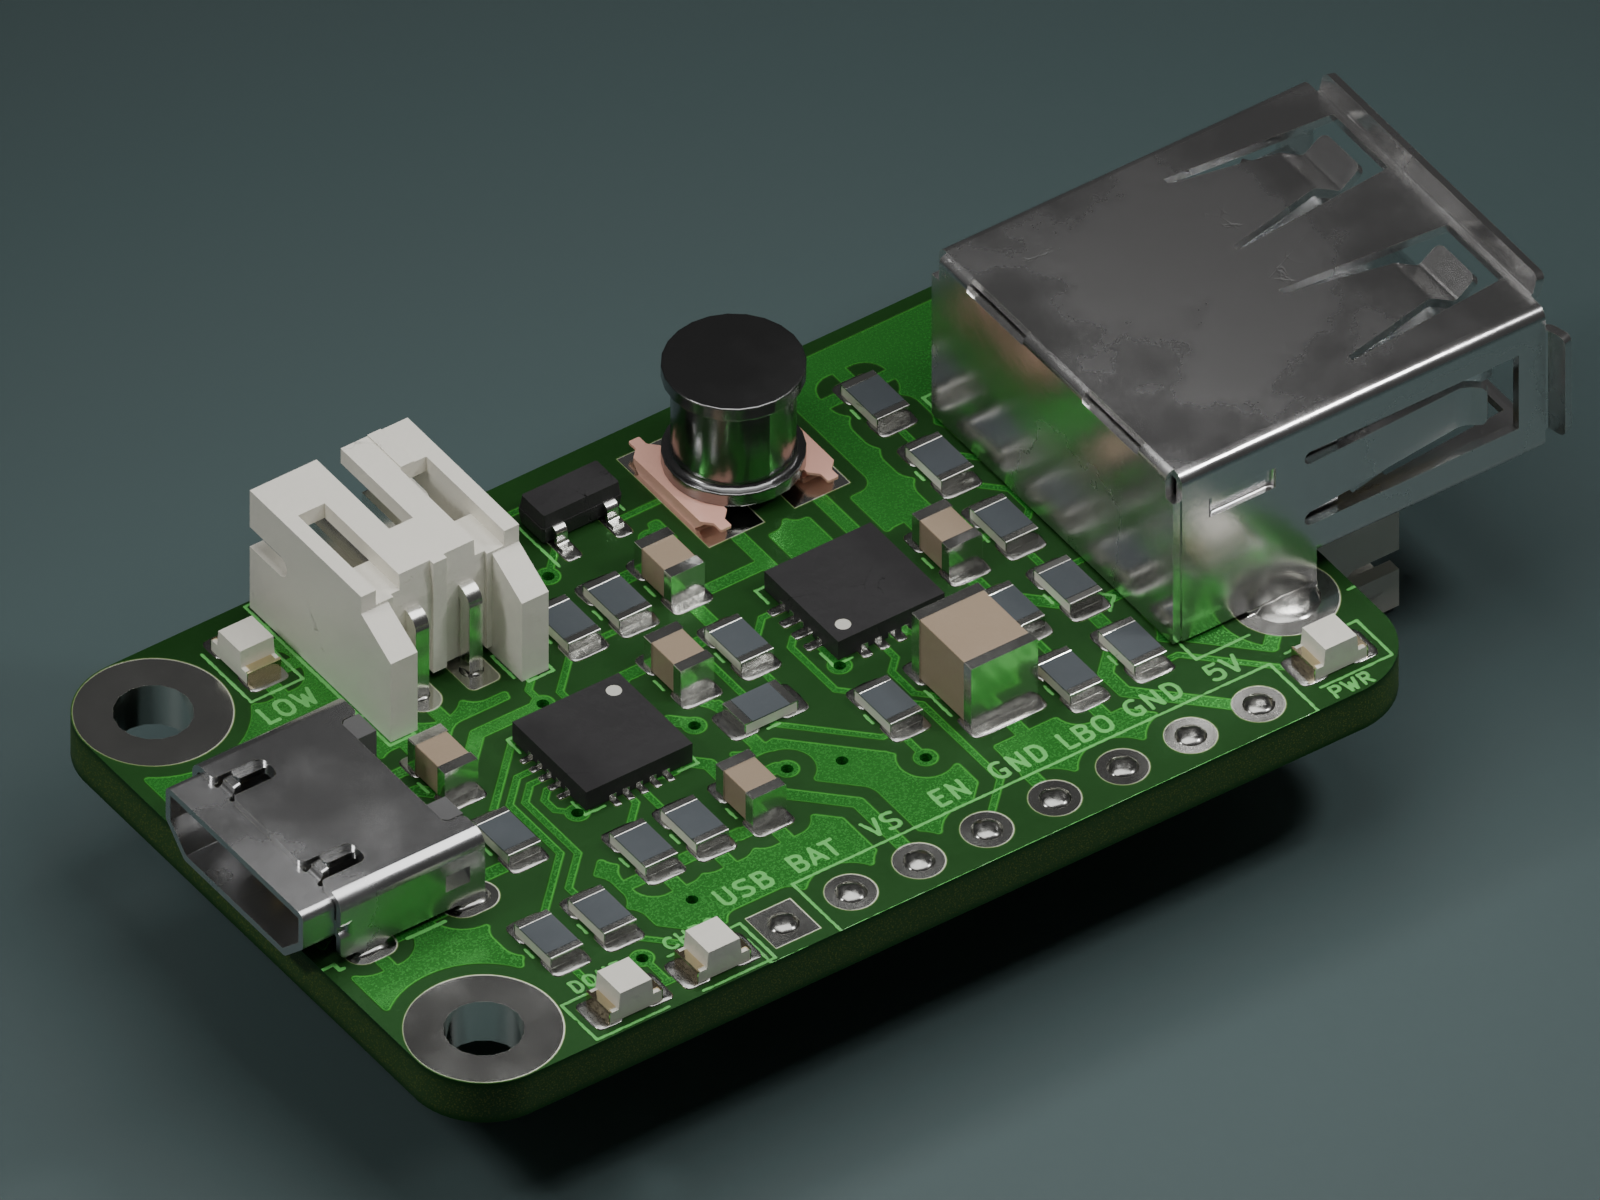
Going from KiCAD to blender was very convoluted, as KiCAD used to use VRML for the 3D bodies, and then around version 5 it switched to step file. But now there is a very streamed line way of getting your board into KiCAD. All thanks to Bobbe, the author of PCB2Blender plugin. He made an exporter for KiCAD and also an importer for Blender. These can be easily added to both the software using their respective addon managers. The importer adds some post processing on the file like bevel modifiers that make the model more realistic. You just need to add the lights setup the background scene and you are good to go. A lot of heavy lifting is done by the plugin to make it look real. The featured image in the blog post was created using PCB2Blender plugin. The PCB used is here
Stylize PCBs
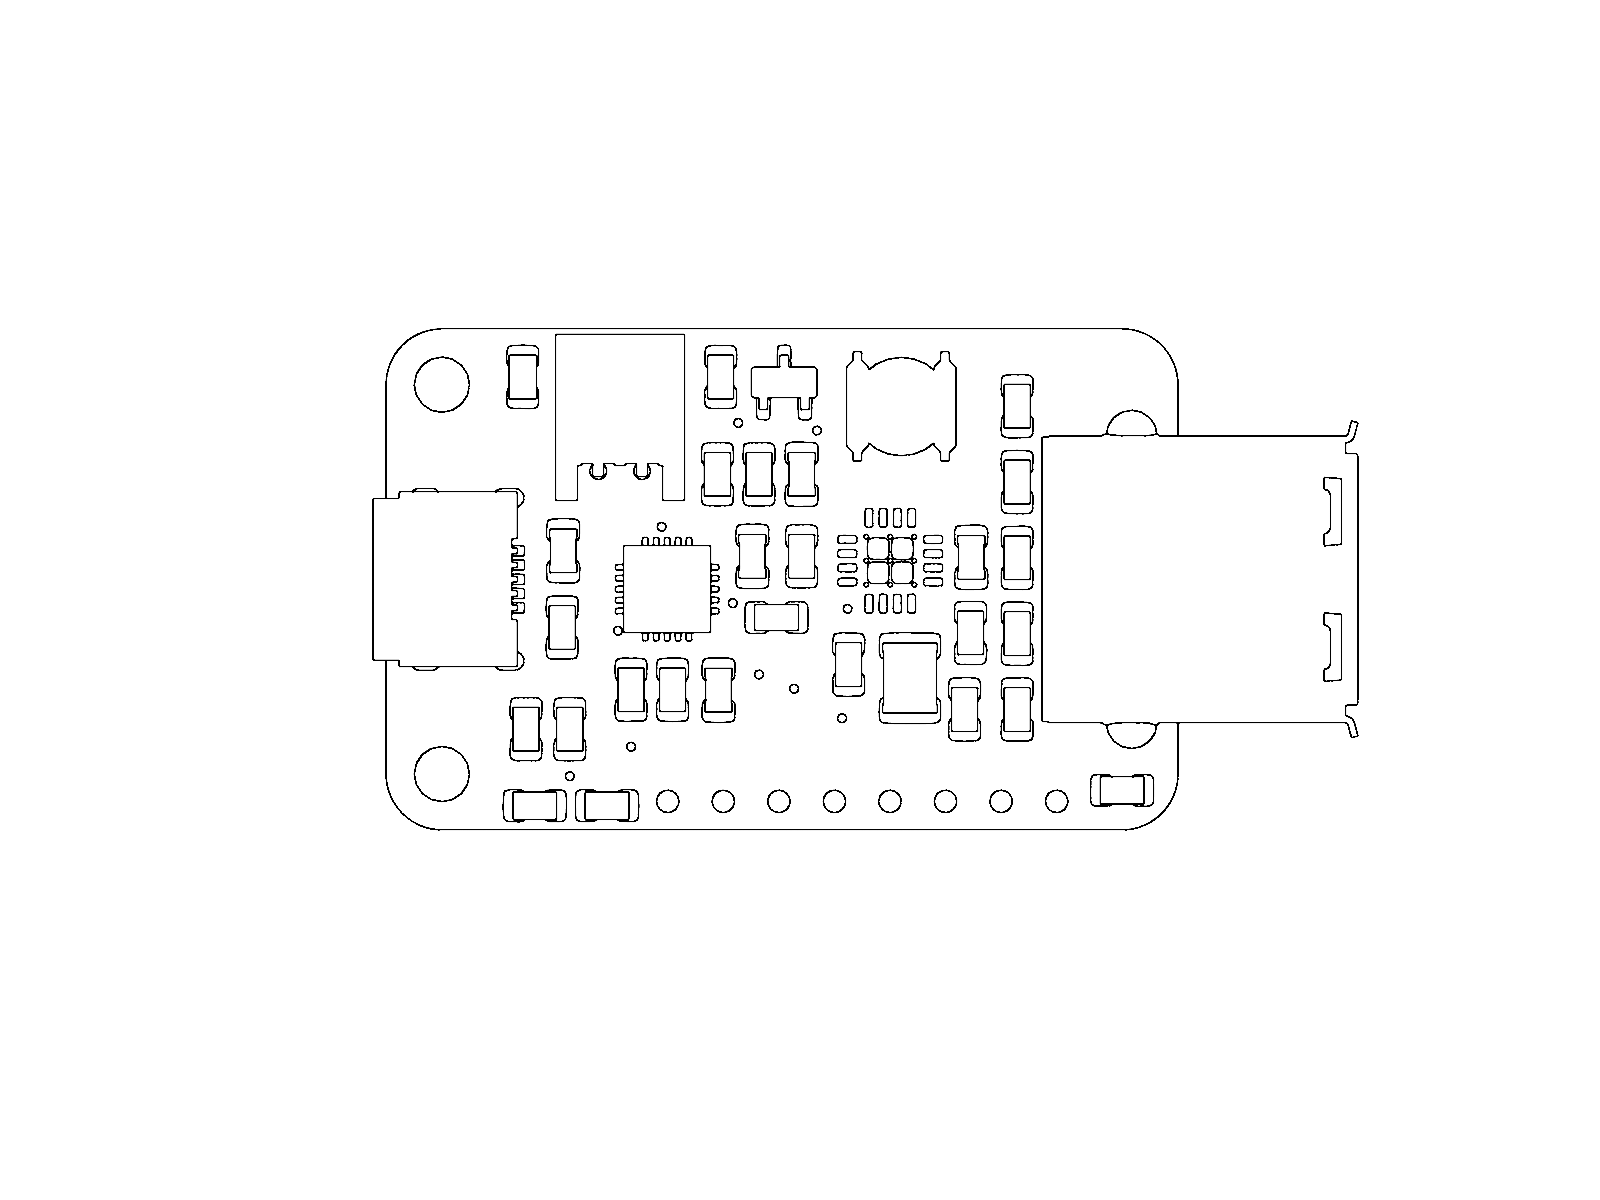
Once you have your PCB in to blender, there is a lot of things you can do. You could make realistic renders or abstract line arts for documentation. If you grab the Electromag nodes addon from Sam you could do some simulations too. You could use OpenEMS to simulating you traces etc. I’ll write about these in future blog posts.
Archives
Tags